Setting up your library
Unlike apps such as Google Photos and Amazon Photos which show all your photos in one long list sorted by date, Photos+ offers a more traditional approach of organizing your photos into folders and albums, while also offering a timeline view of all your photos from the Search section.
To setup your library and start uploading your photos, please follow these steps.
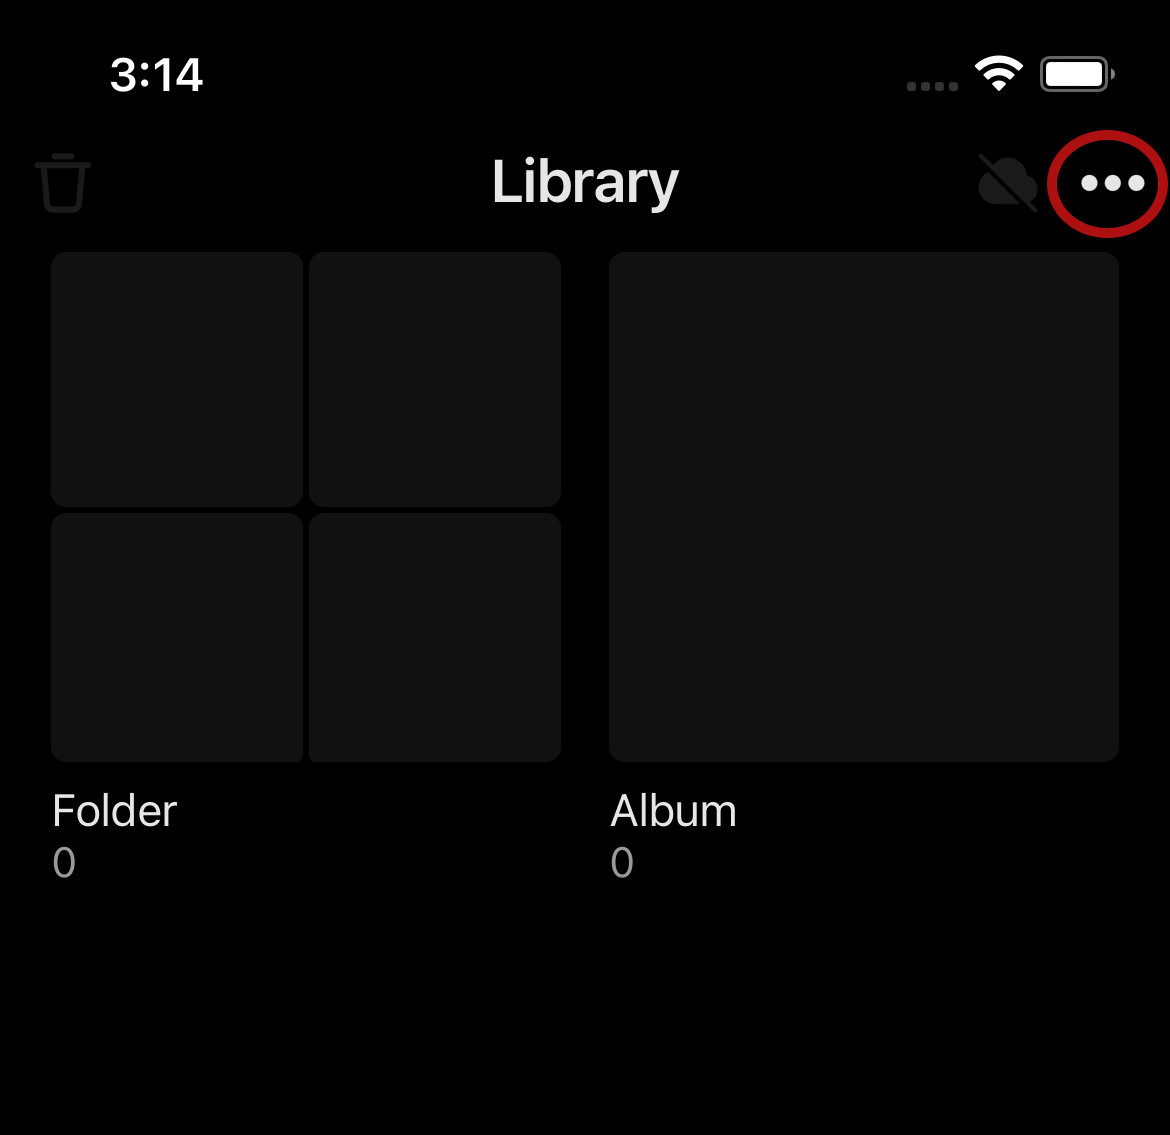
- Go to the Library section
- Tap the options button in the upper right corner of the screen to open up the menu options for the library section.
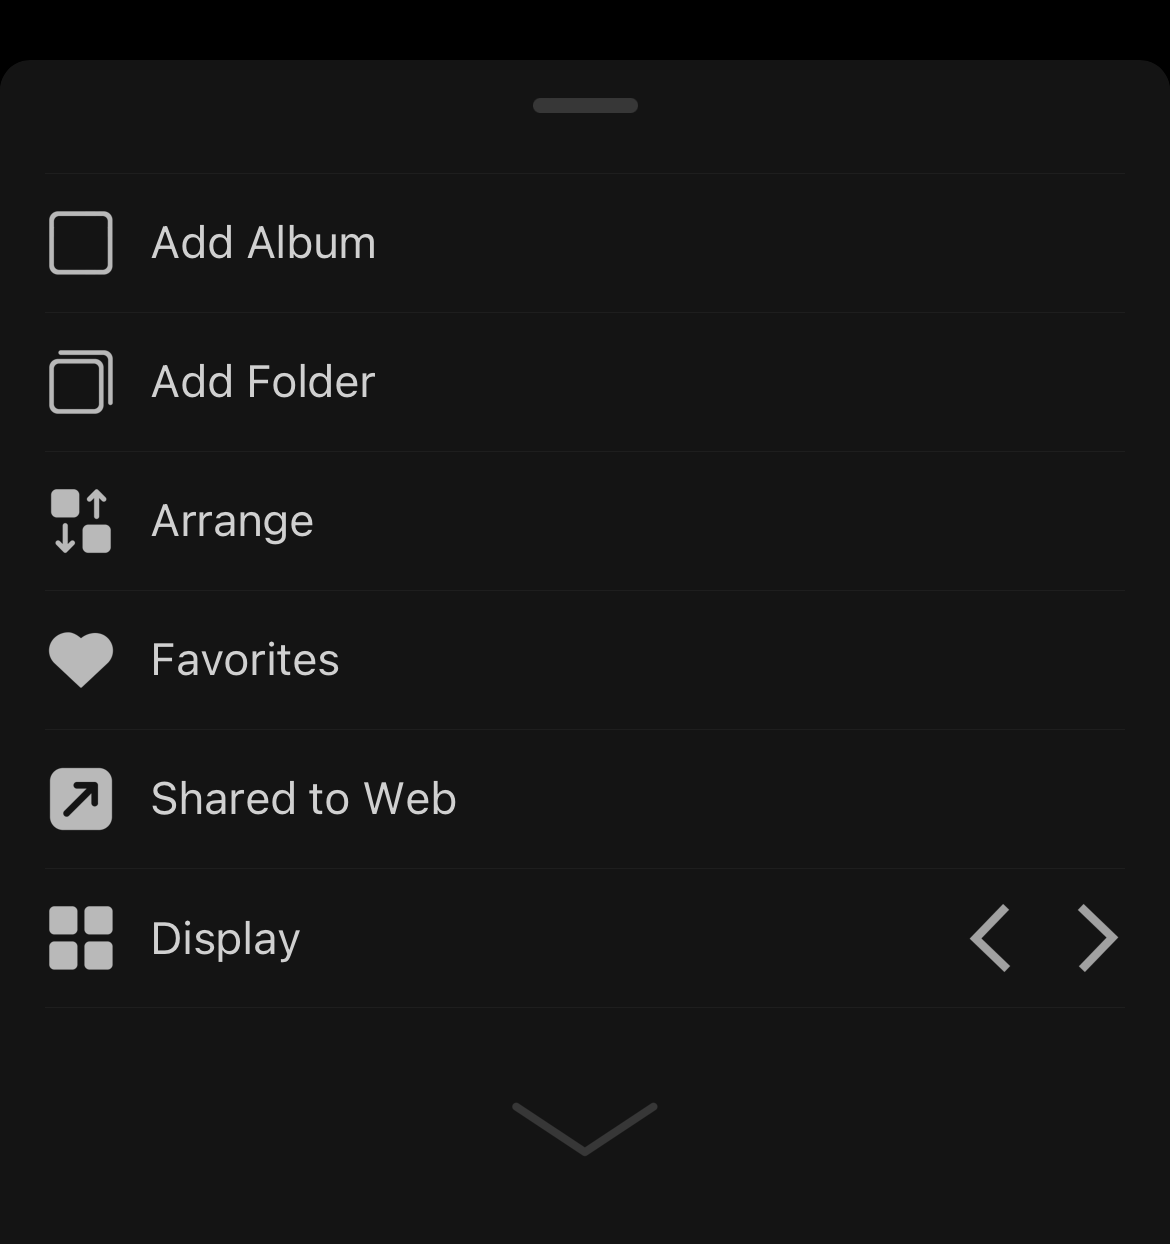
- Tap the Add Folder or Add Album to create new folders and albums.
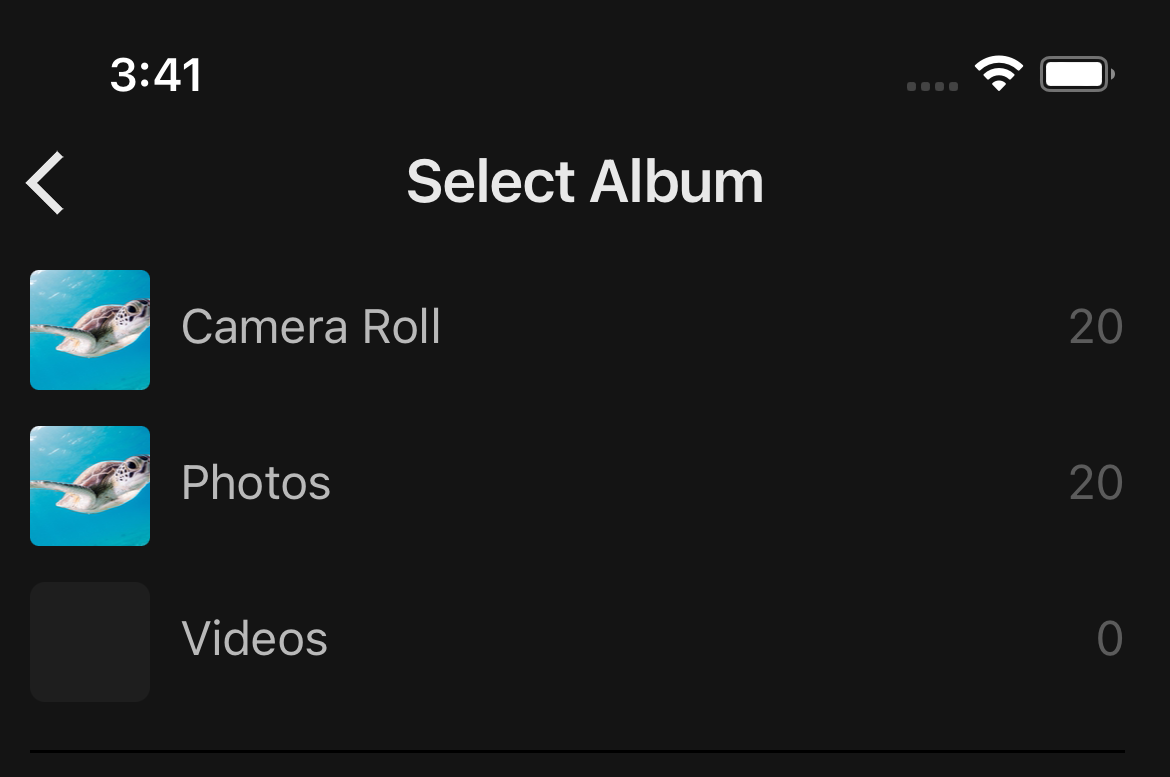
- Navigate to the album you just created and tap the + option in the upper right and select the photos and videos you wish to add to this album.
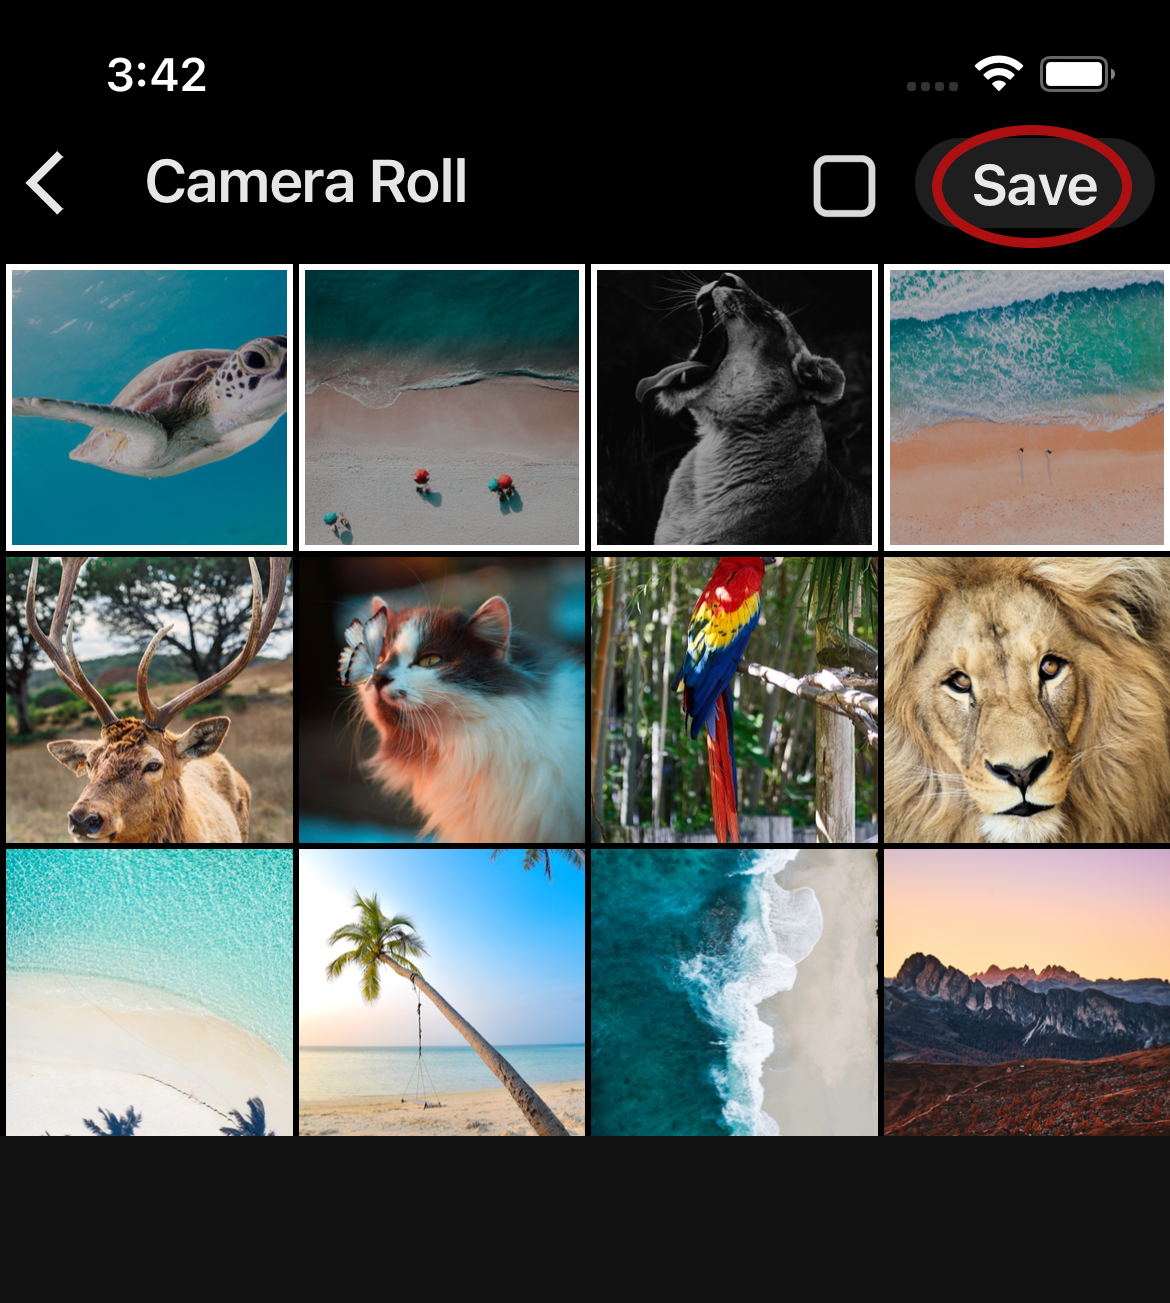
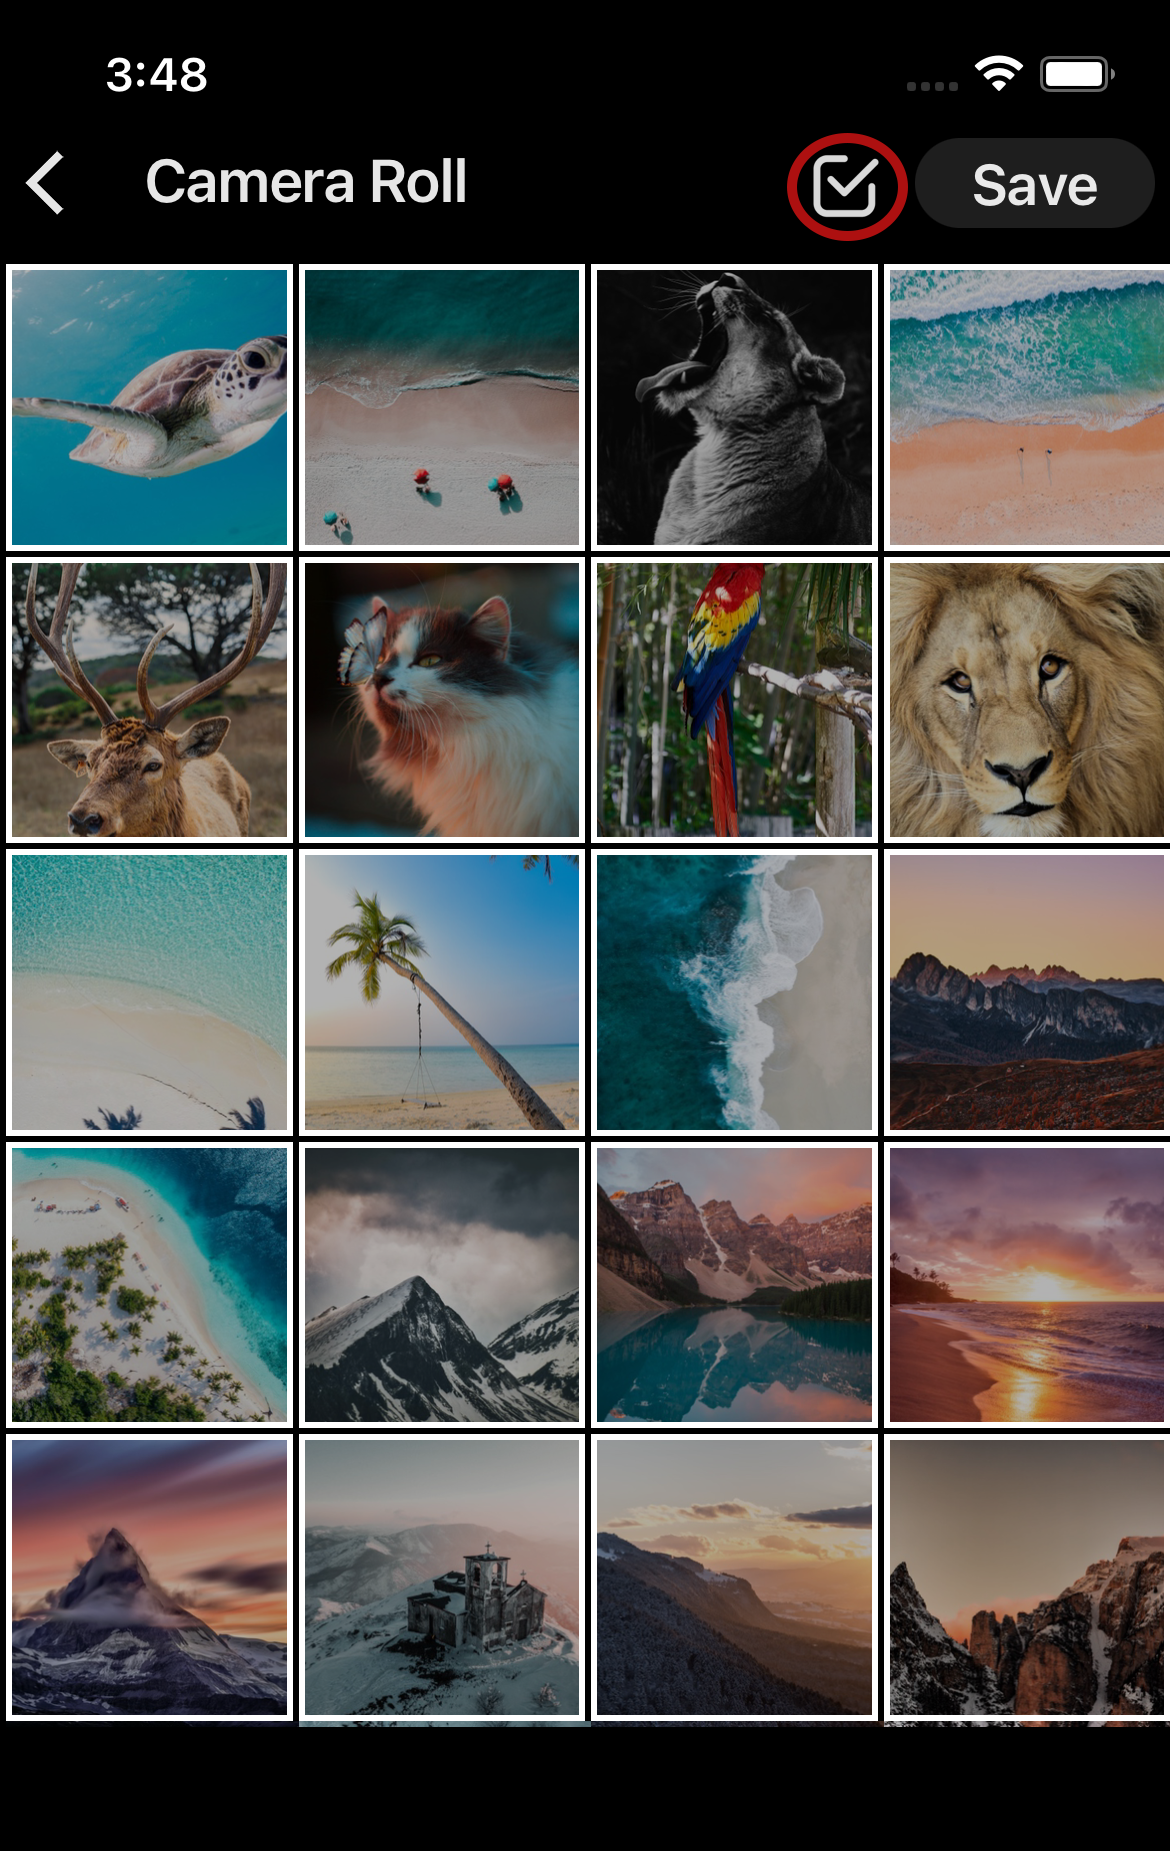
- The next screen will display the photos and videos stored on your device. Select a device album, and on the next screen, the photos and videos to be added to this album and and tap the Save button to have them saved to this album.
- You can go back and select more photos from other albums to add more photos, and use the checkbox to select all the photos of a given album without having to tap all the photo individually.
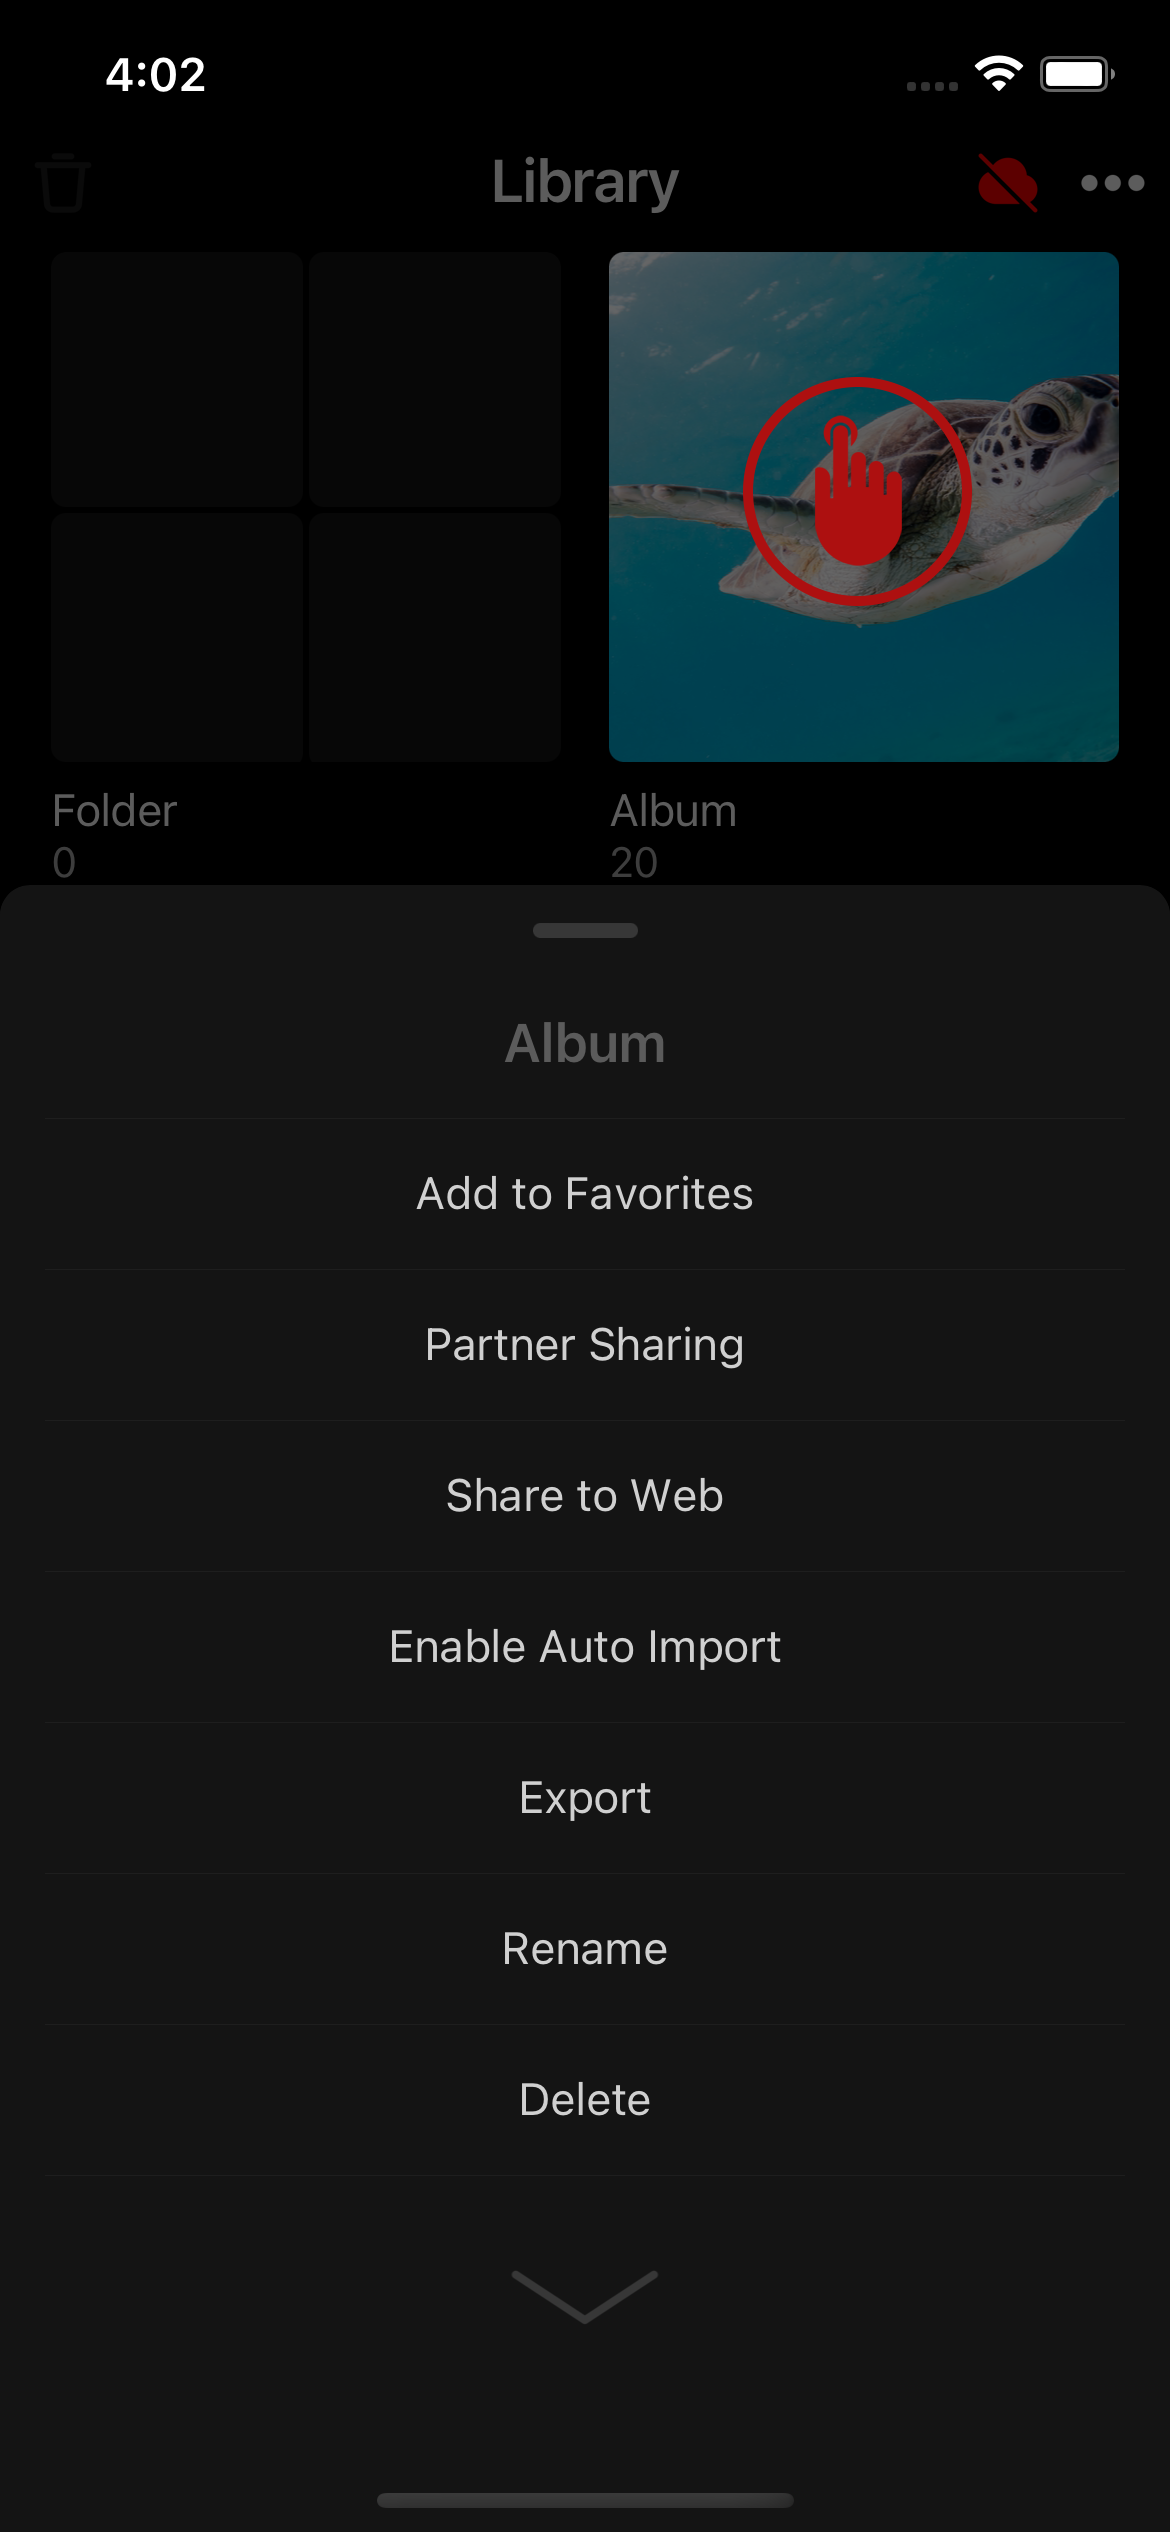
- Additional options for individual folders and albums are available by long pressing on a folder or album.
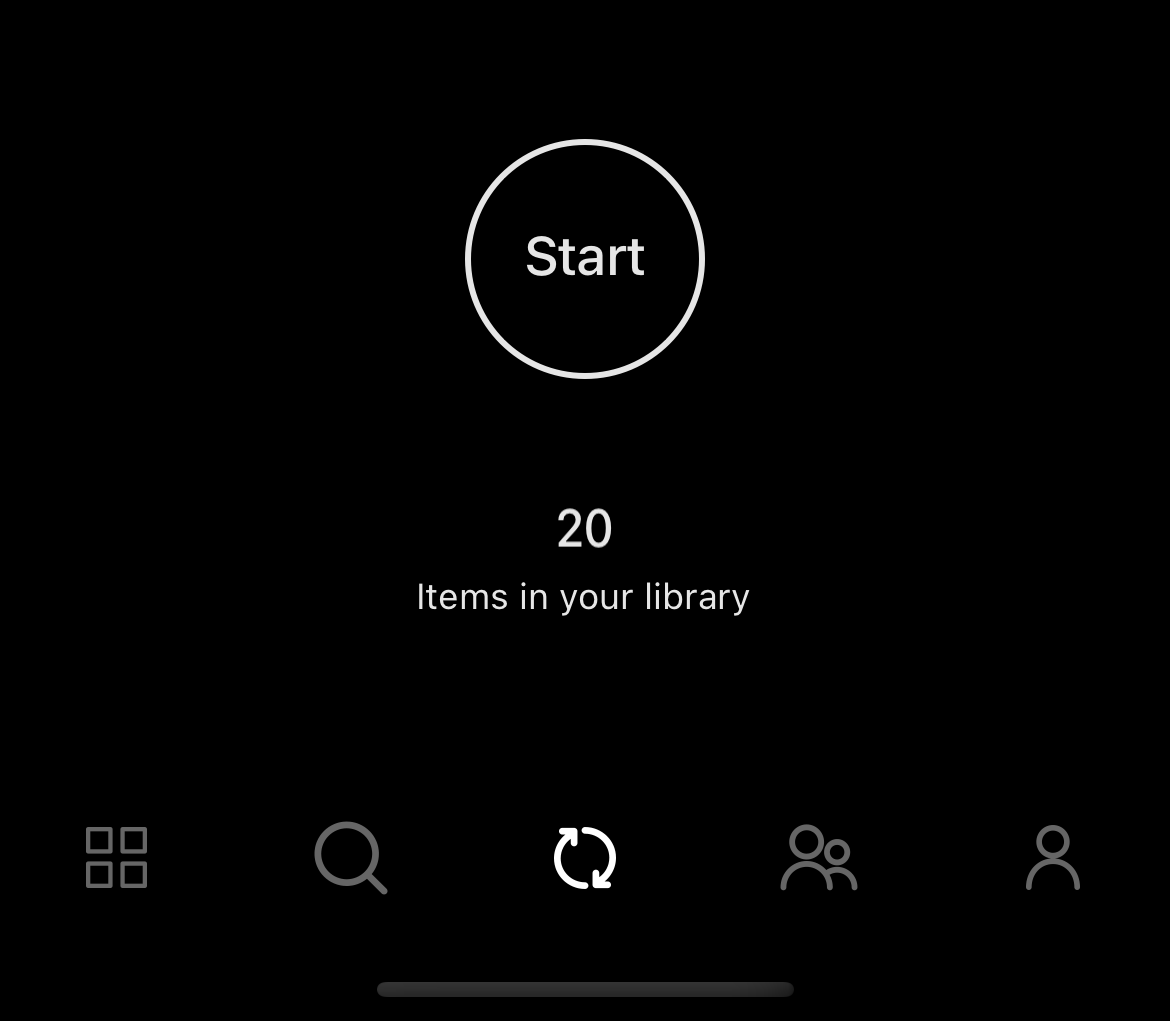
- The red icon in the upper right corner of the Library section indicates there are items pending upload and tapping this icon will show you the items that are awaiting upload.
- To upload the items you have added, go to the Synchronize section and tap the Start button. This will upload all items that have been added to your library but not yet uploaded to your cloud storage.